Followers

Monday, June 25, 2012

Dragon


Went to Michaels the other day.


I had a coupon.


Found this Safari, Ltd, Fire Dragon.


Molded in bright colors and painted well.


It has three heads and breathes fire.


Makes a nice opponet for this 1/72nd scale St. Michael.

Sunday, June 24, 2012

Puma


Two companies of Puma, 50 armored cars.


Six per platoon.


Four platoons.


One HQ vehicle, for a company of 25 Puma's.


They will have their turret hatches checked, glued and repaired or replaced.


All of them will get bumpers too.

Saturday, June 23, 2012

Nazi German Armor


I found that putting a Roco 234 armored car in a Dixie cup it would hold just the right position to allow me to glue on the bumper supports.  I had to scrape the paint off the corners of the front of the upper part of the lower hull.  I glued a plastic bead on each of the two corners.  Most beads are glass and don't work very well.  I found about a million plastic beads from two bucks at a bead shop.  Well, maybe a thousand or so.


Plastruct 1.5mm plastic coated wire, trimmed to one inch lengths and then bent each end with pliers.


They look pretty good once they are glued on.


I initially glue them with vast amounts of Plastuct glue and later added 5 minute epoxy to strengthen them.


The two new 7.5 cm anti-tanks guns L/48 mounted in the 234 chassis.


Various bits on the workbench as I continue with my upgrade of the Roco 234 series of armored cars.

Friday, June 22, 2012

Paper Panzer Armored Car


Panzer Tracts by Thomas L. Jentz & Hilary Louis Doyle is a wonderful book.


This will be a Schwerer Panzerspaehwagen Sd.Kfz.234 with 7.5 cm Aufklaerungs-Kanon L/48 as found in that book.  It is a shortened version of the 7.5 anti-tank gun for use in armored vehicles.  The Germans may have made one or five or none depending on who you believe.  This Roco 234 armored car hulk is going to meet up with a Roco Grille gun from the junk box.


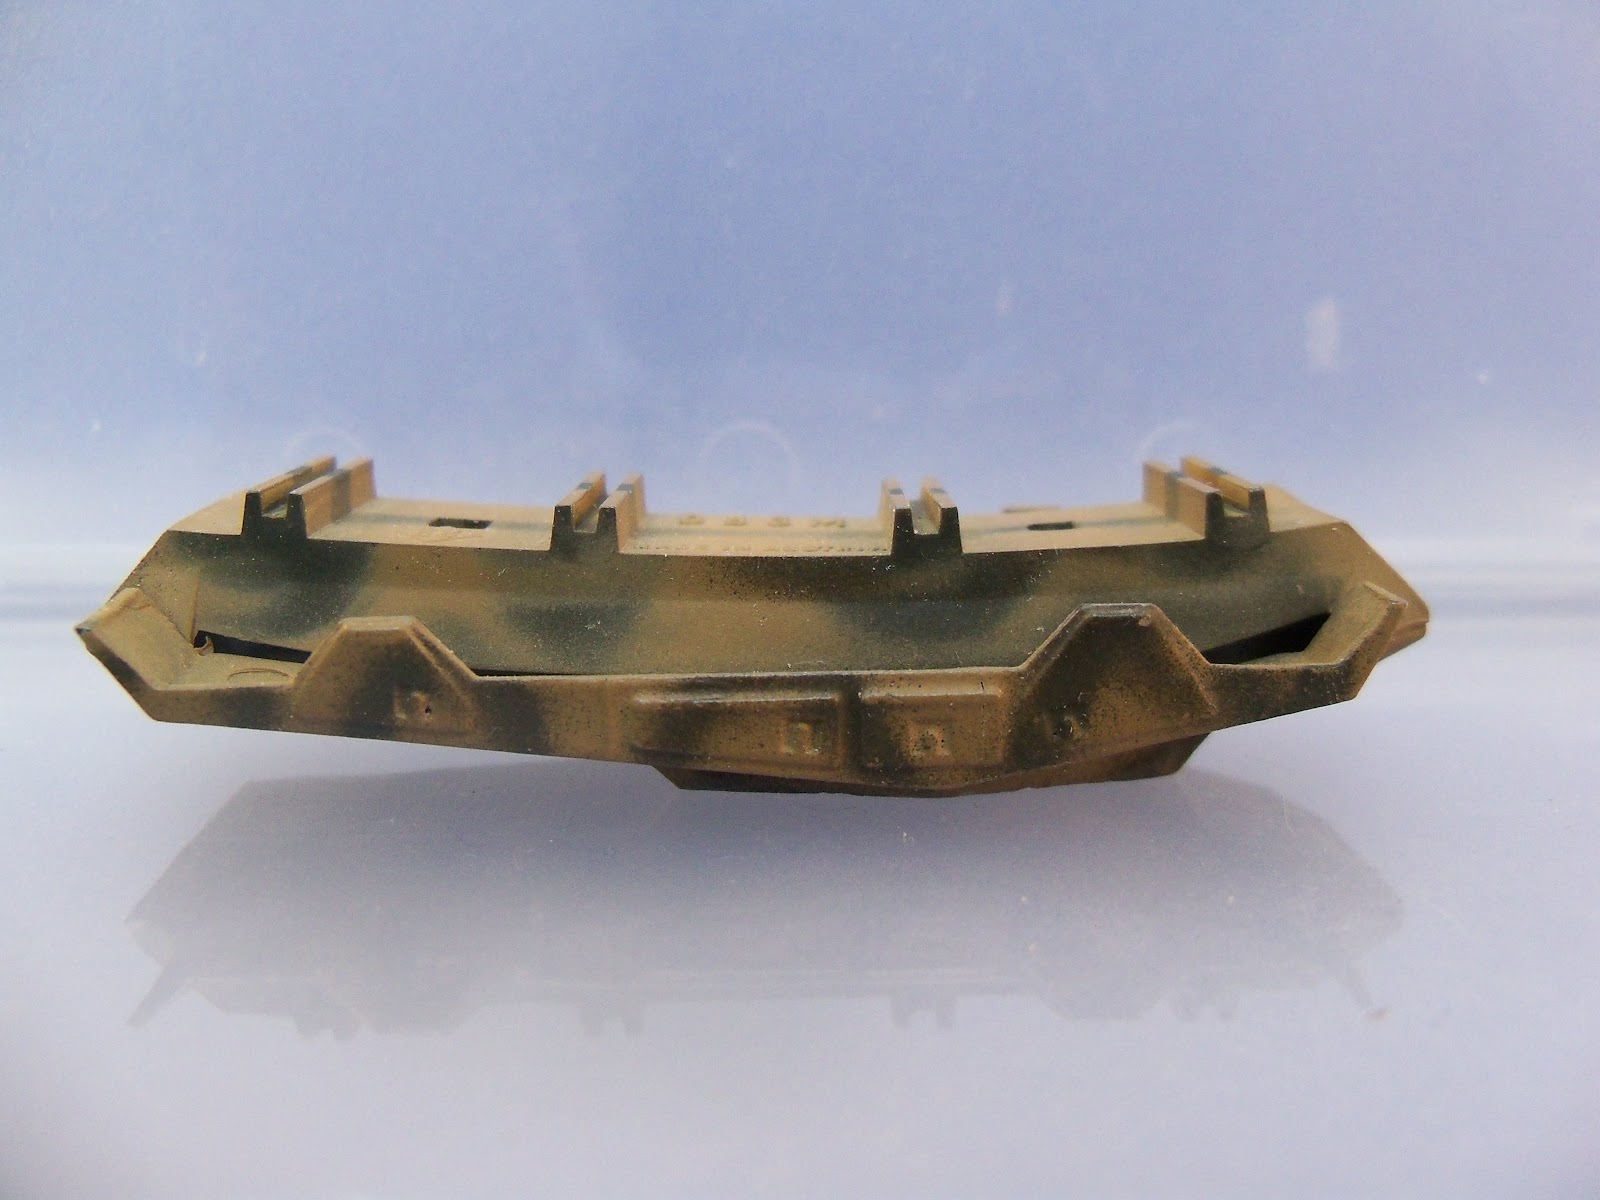
The bottom of this armored car is supposed to be flat.  It's bowed from exposure to heat.  That's why this one went to the junk pile originally.  Now it's being resurrected.


First thing is to trim down off the end of the barrel.  Then cut of the breech.  Then cut the breech end of the barrel.


Cut the end off the 234/3 barrel.  It will become the mount for the new barrel.


Here is a look at the new barrel in three places and more of the same type of parts they were made from, to make a second gun barrel.


Here is the new barrel compared to a PaK 40 barrel in 1/72nd scale.