I needed some hatches for five Boley Abrams turrets.
Not enough to bother making a silicon mold and buying resin. So I made a press mold.
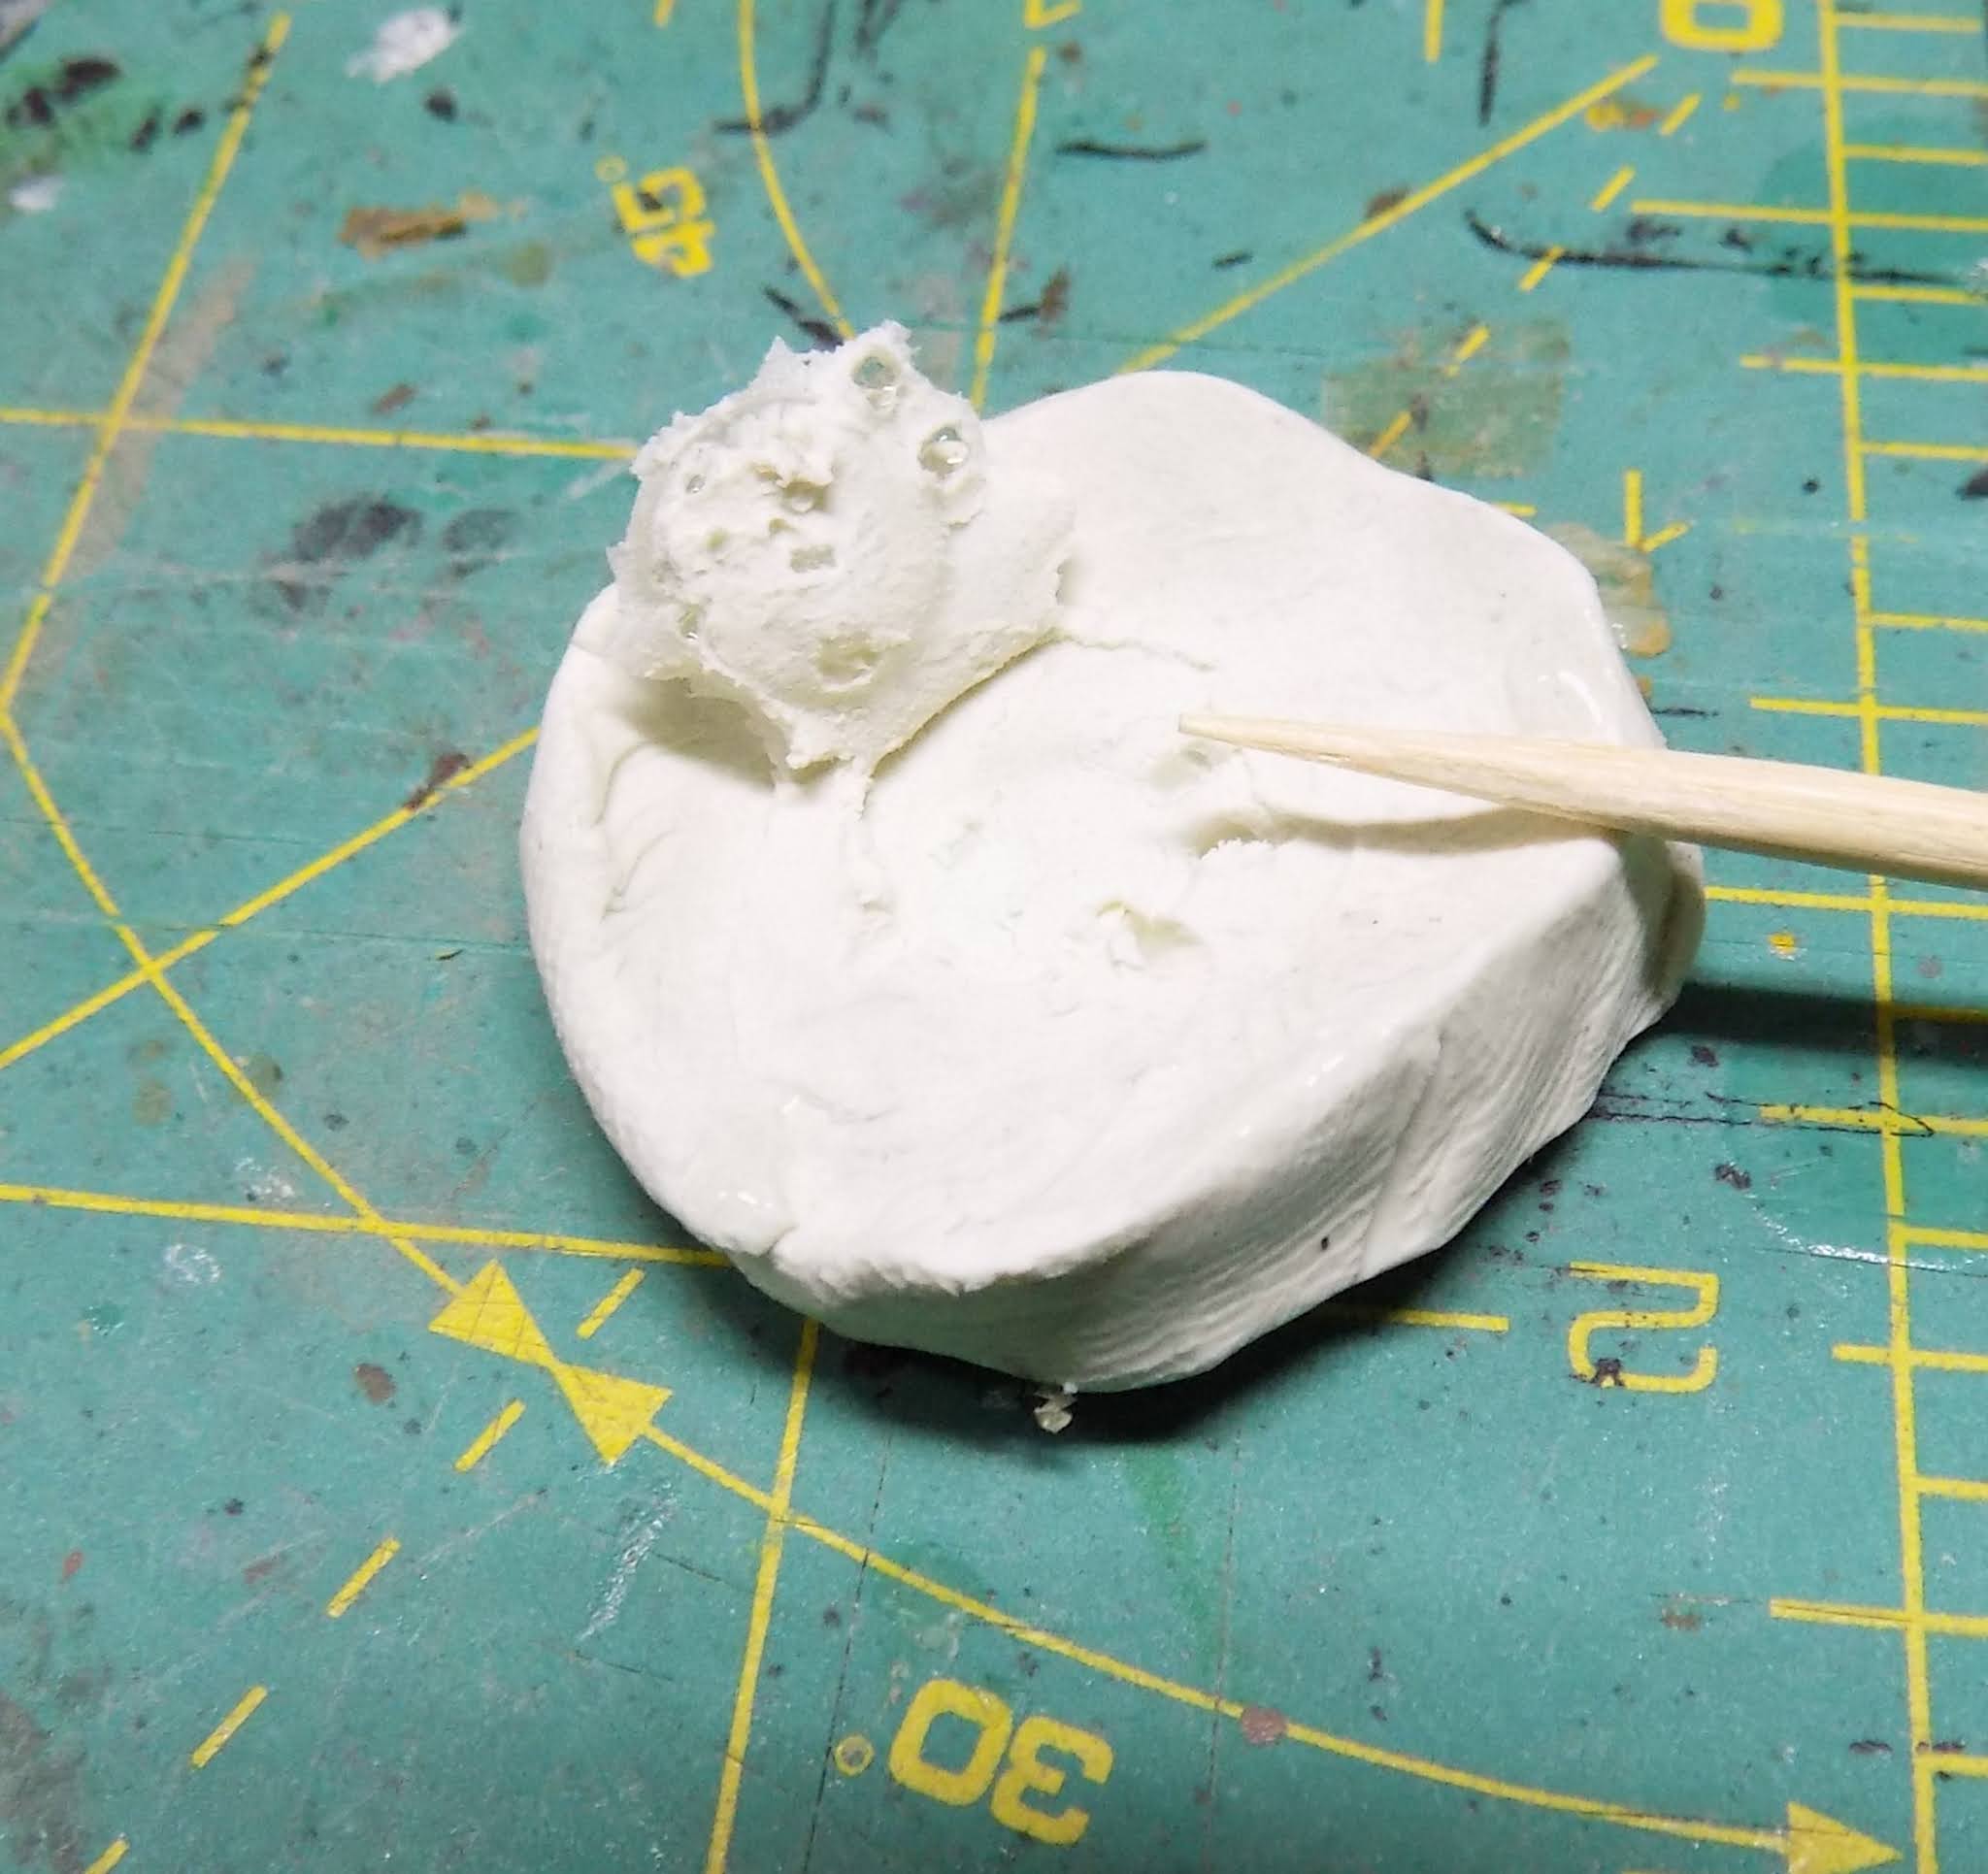
Make a shallow bowl out of modelling clay. Place the item to be molded in the center of the bowl. Press the item down until it is flush with the surface. Then gently pry it back up with a toothpick.
Use the toothpick to tidy up any errors in the mold.
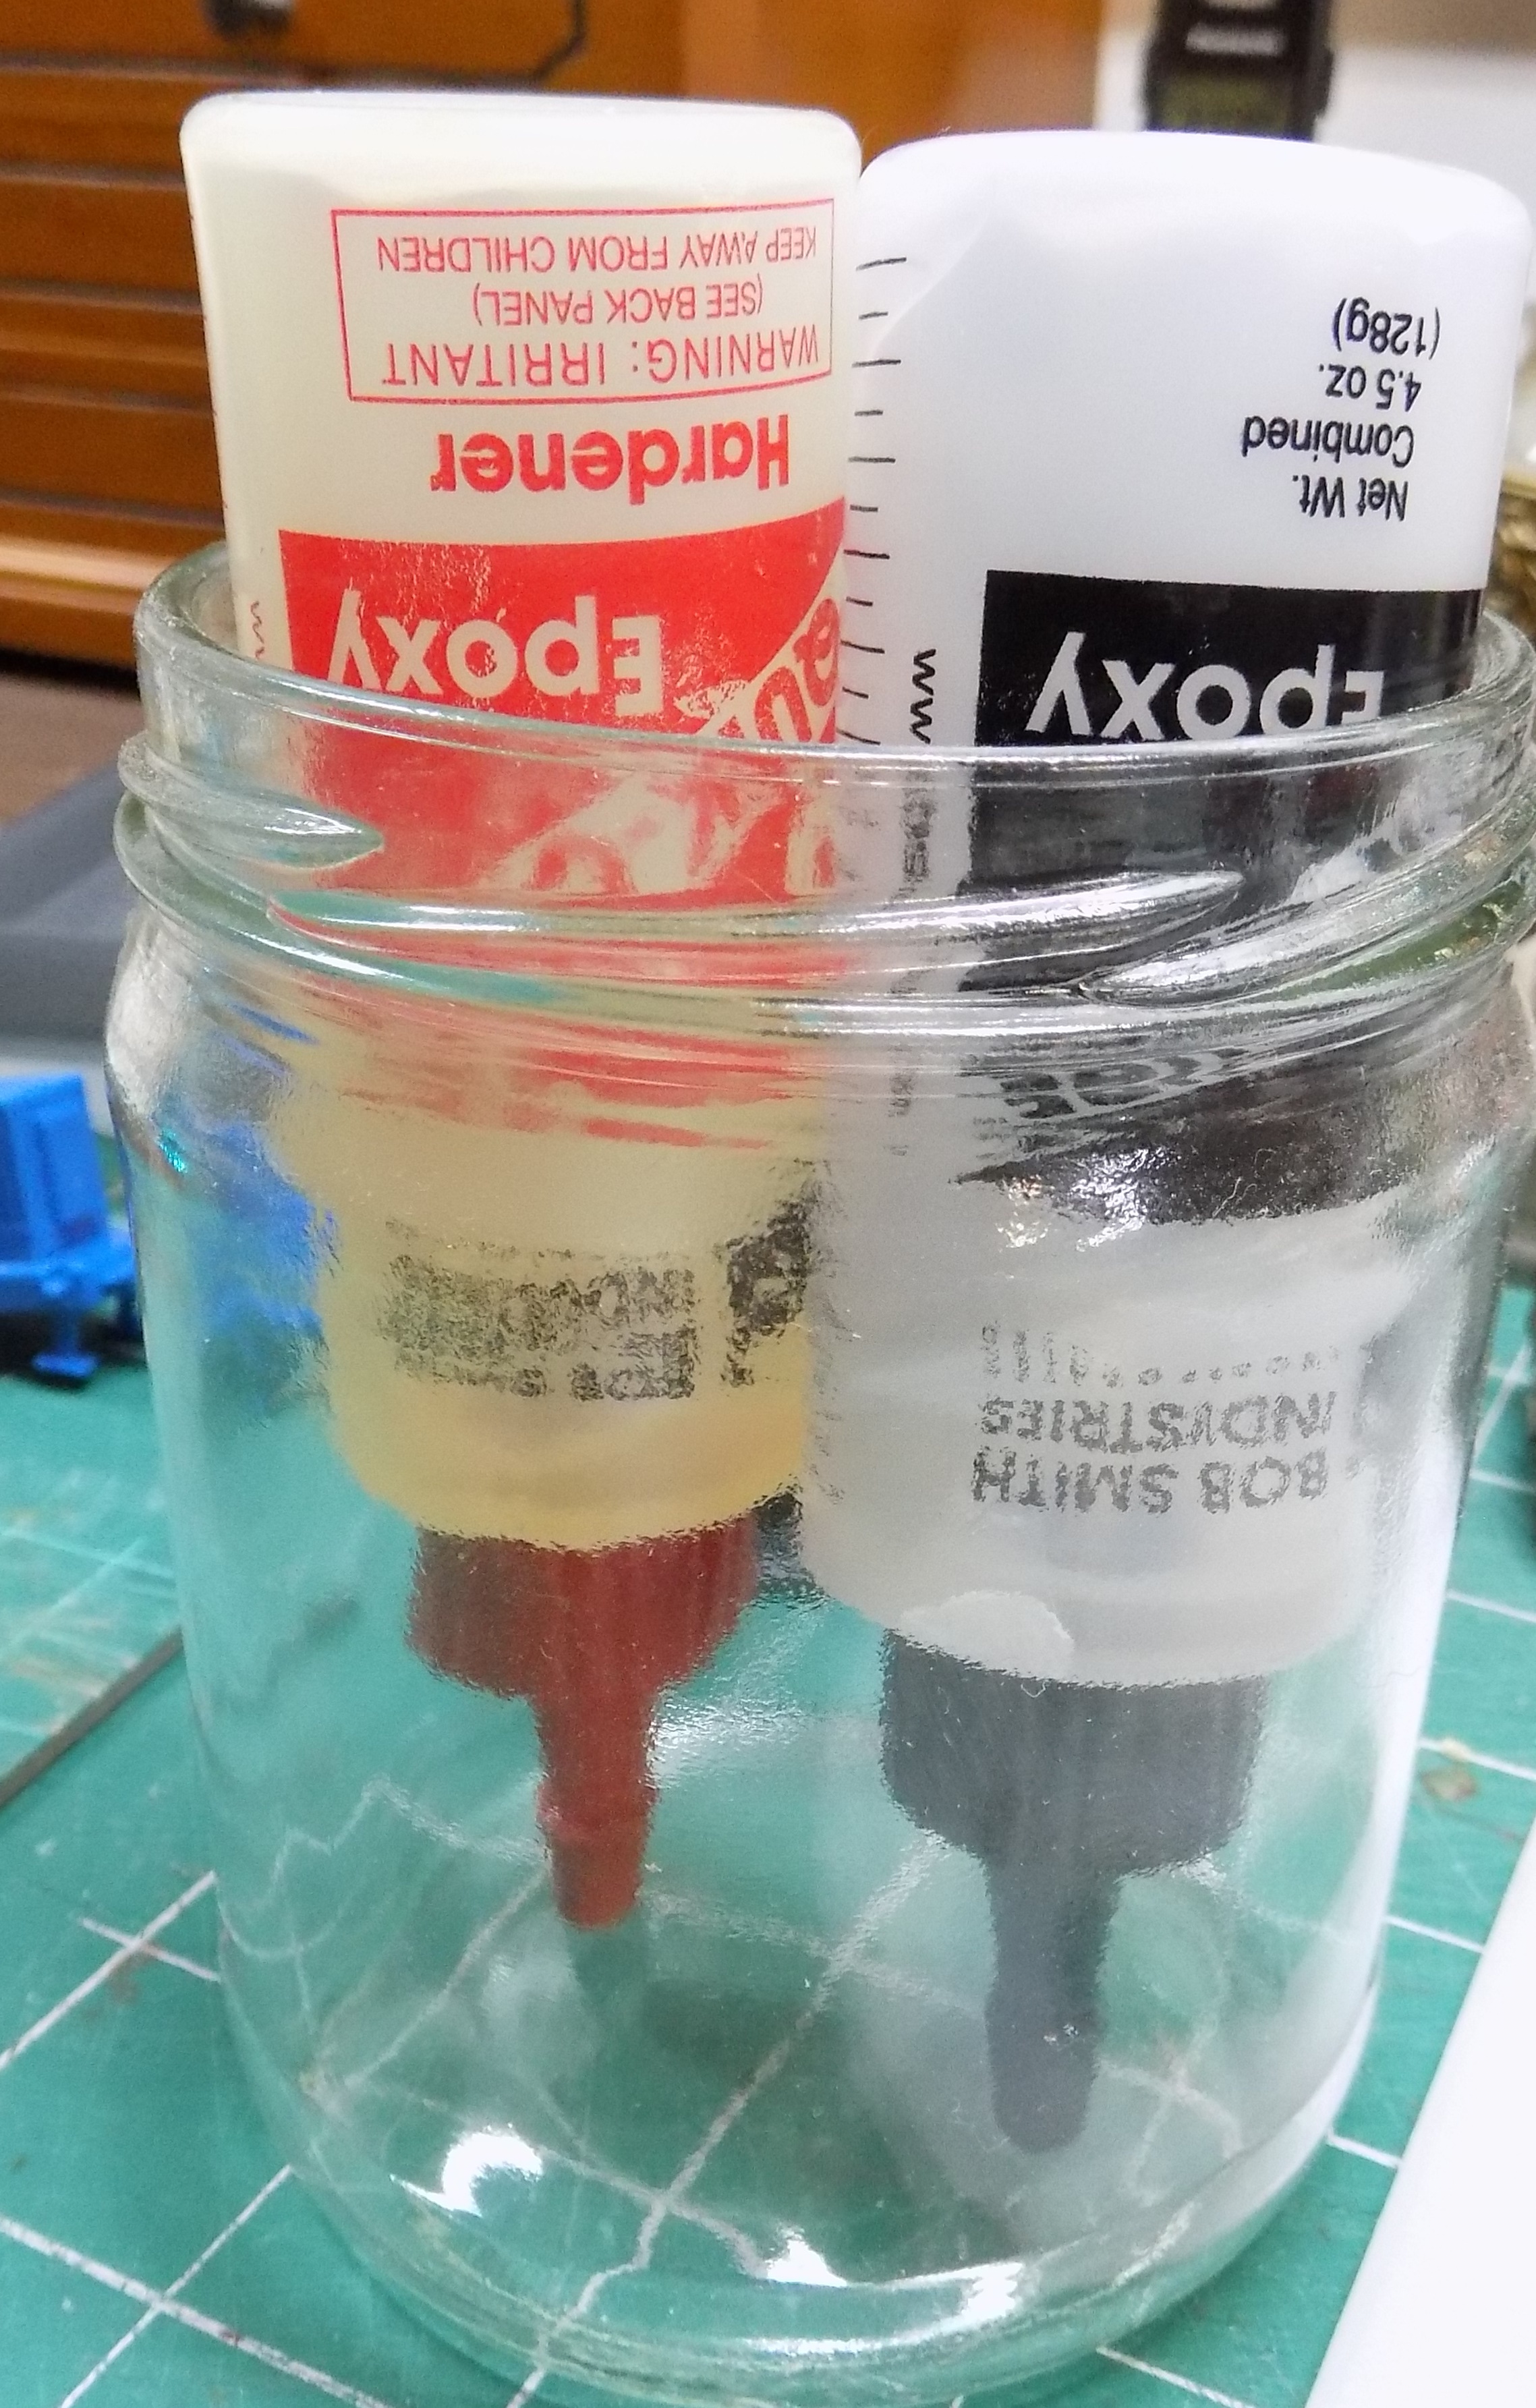
Take your quick cure 5 minute epoxy by Bod Smith Industries and mix up a tiny batch.
On a piece of aluminum foil, using your same toothpick.
The put the epoxy into the mold and wait five minutes until it is dry, and pry it out. This will destroy the mold, but you can reuse the clay.
It's kinda clear so the camera does not pick it up well but it is a very nice hatch. Use the toothpick to clean up the clay off the hatch and then get the last bits with an old toothbrush. Trim excess epoxy with a sharp craft knife. Sand the bottom with a sanding stick. I get about 80% recovery of the model parts, so since I needed 5 hatches I cast 7 and got 5 good ones. Cost is almost zero. Good for making one sided items when you have a special project that only needs a couple little bits.