Followers

Sunday, April 25, 2021

Cannon and Caisson

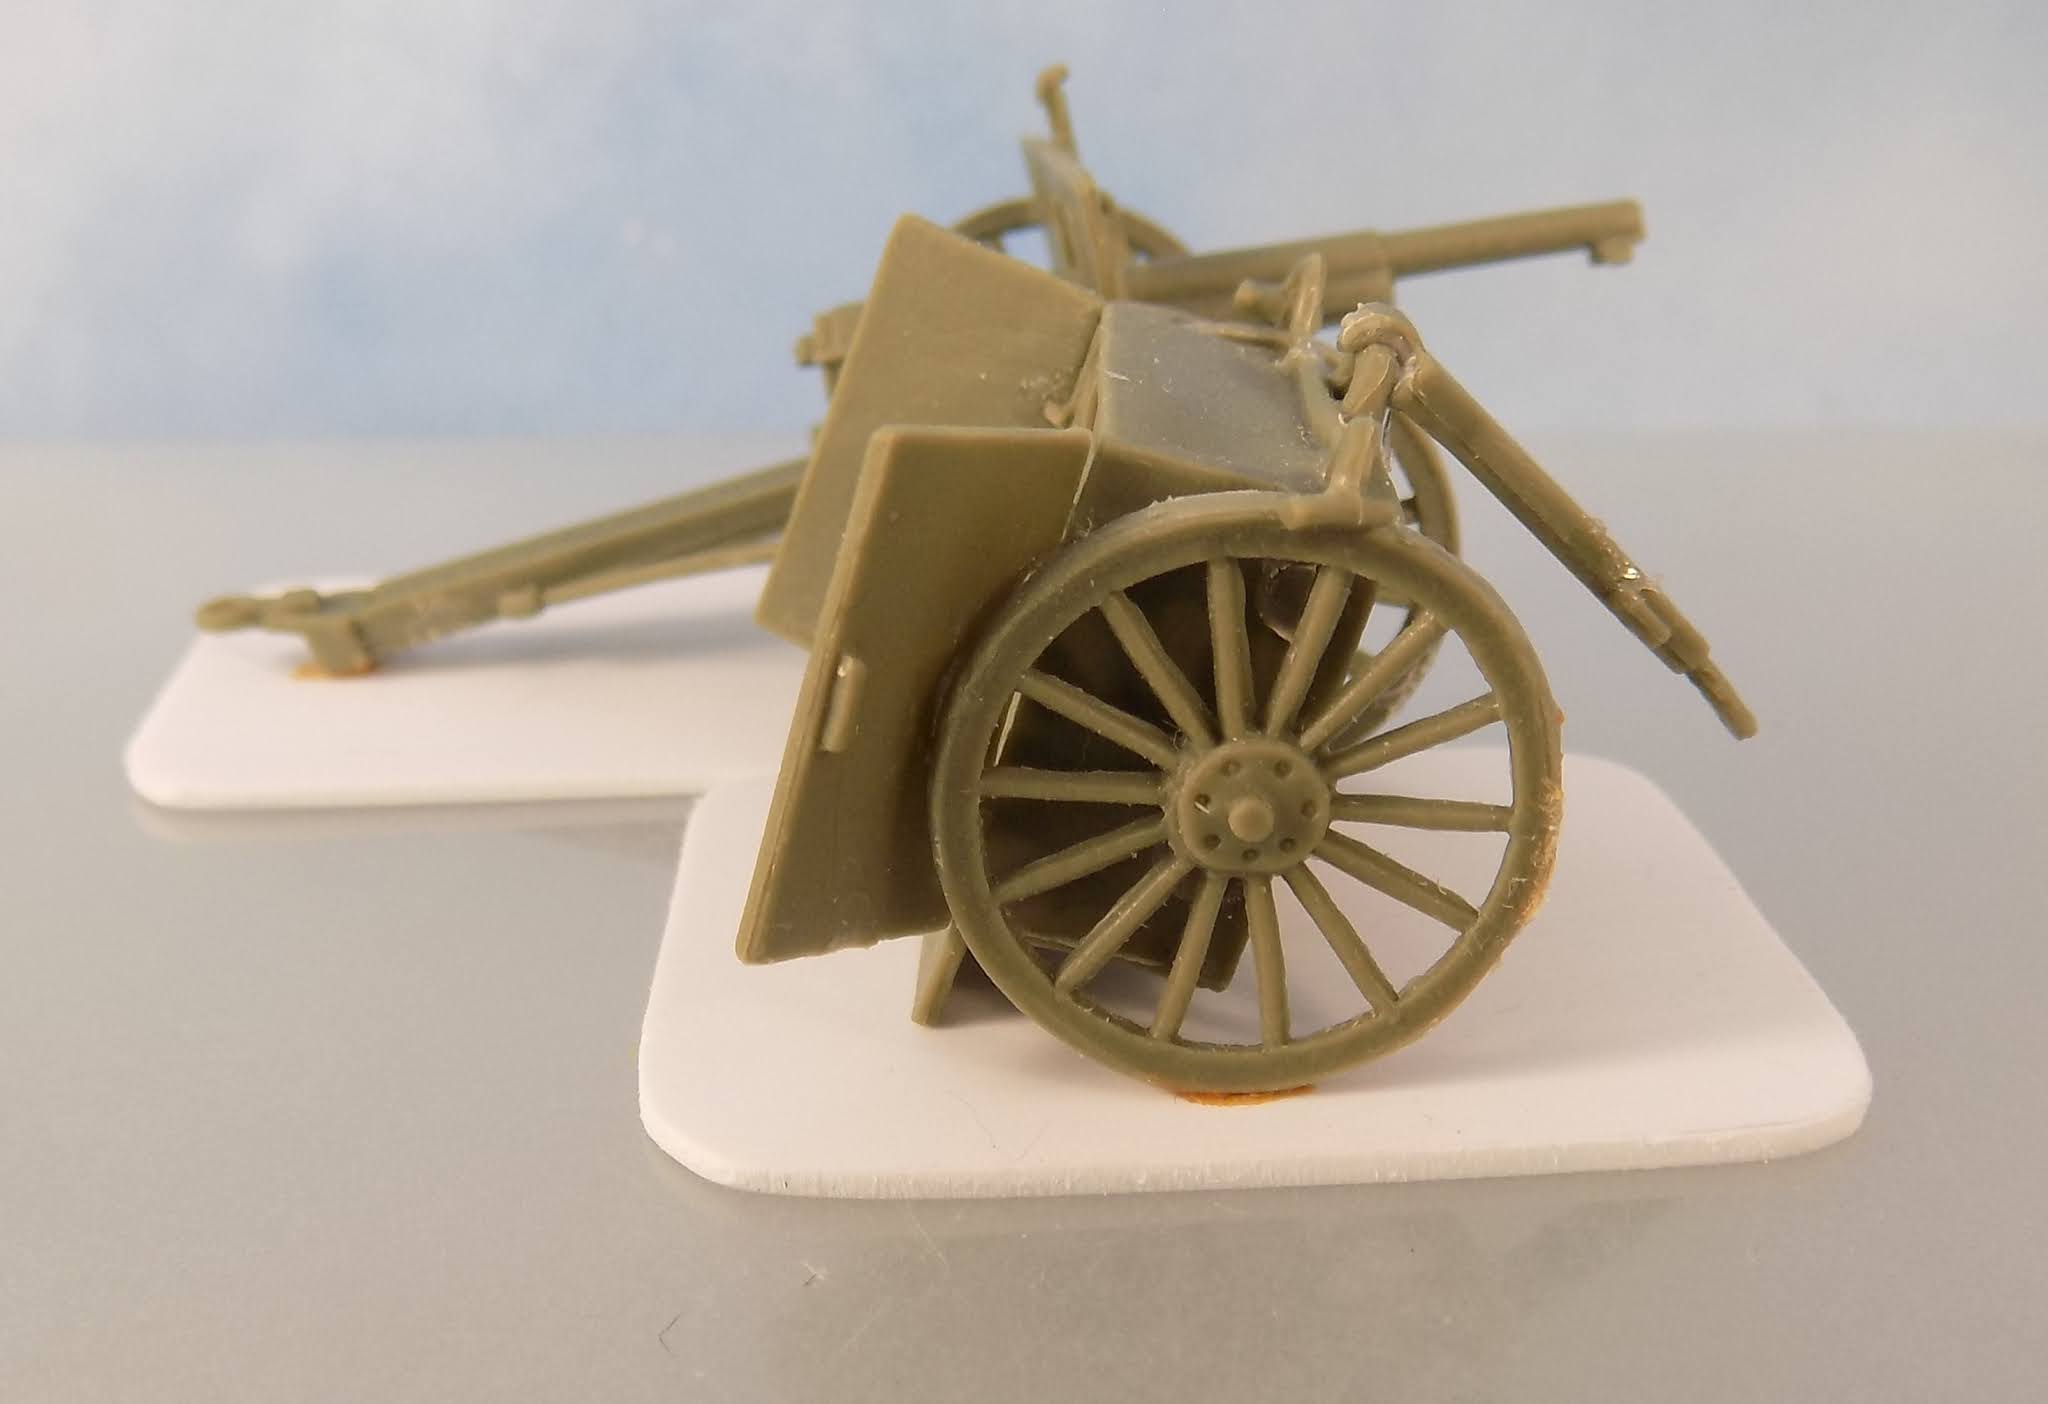
The gun and the caisson were set up side by side.
The ammo was right next to the gun for quick firing.
The recoil mechanism allowed the gun to stay in place when fired, so it did not need to be relaid after every shot.
Makes a nice little set up.
Of course in fixed positions the ammo would be in a dugout and the caisson would be used to replenish the store.
 

Saturday, April 24, 2021

Those Caissons Go Rolling Along

Part of the HaT WWI US Army French 75 cannon set is this caisson.
It's a good model but the doors are a little fiddly.
The caisson had ready ammo and could be set up like this for providing rounds to the cannon.
It's a quick and clever way to feed the gun.
The set does not come with horses, but I like that you get a full battery of four cannons and four caissons.
 

Friday, April 23, 2021

French 75

HaT Industries WWI US Army French 75mm gun in 1/72nd scale.
At the start of WWI the French had the most advanced 75mm class gun in the world.
The US used nearly two thousand of them in World War One.
The US also manufactured about a thousand in WWI.
They remained in US service through WWII, but were modernized and modified starting in the 1930s.
HaT set provides four guns with caissons and crews.


Thursday, April 22, 2021

Press Cast

I needed some hatches for five Boley Abrams turrets.
Not enough to bother making a silicon mold and buying resin.  So I made a press mold.
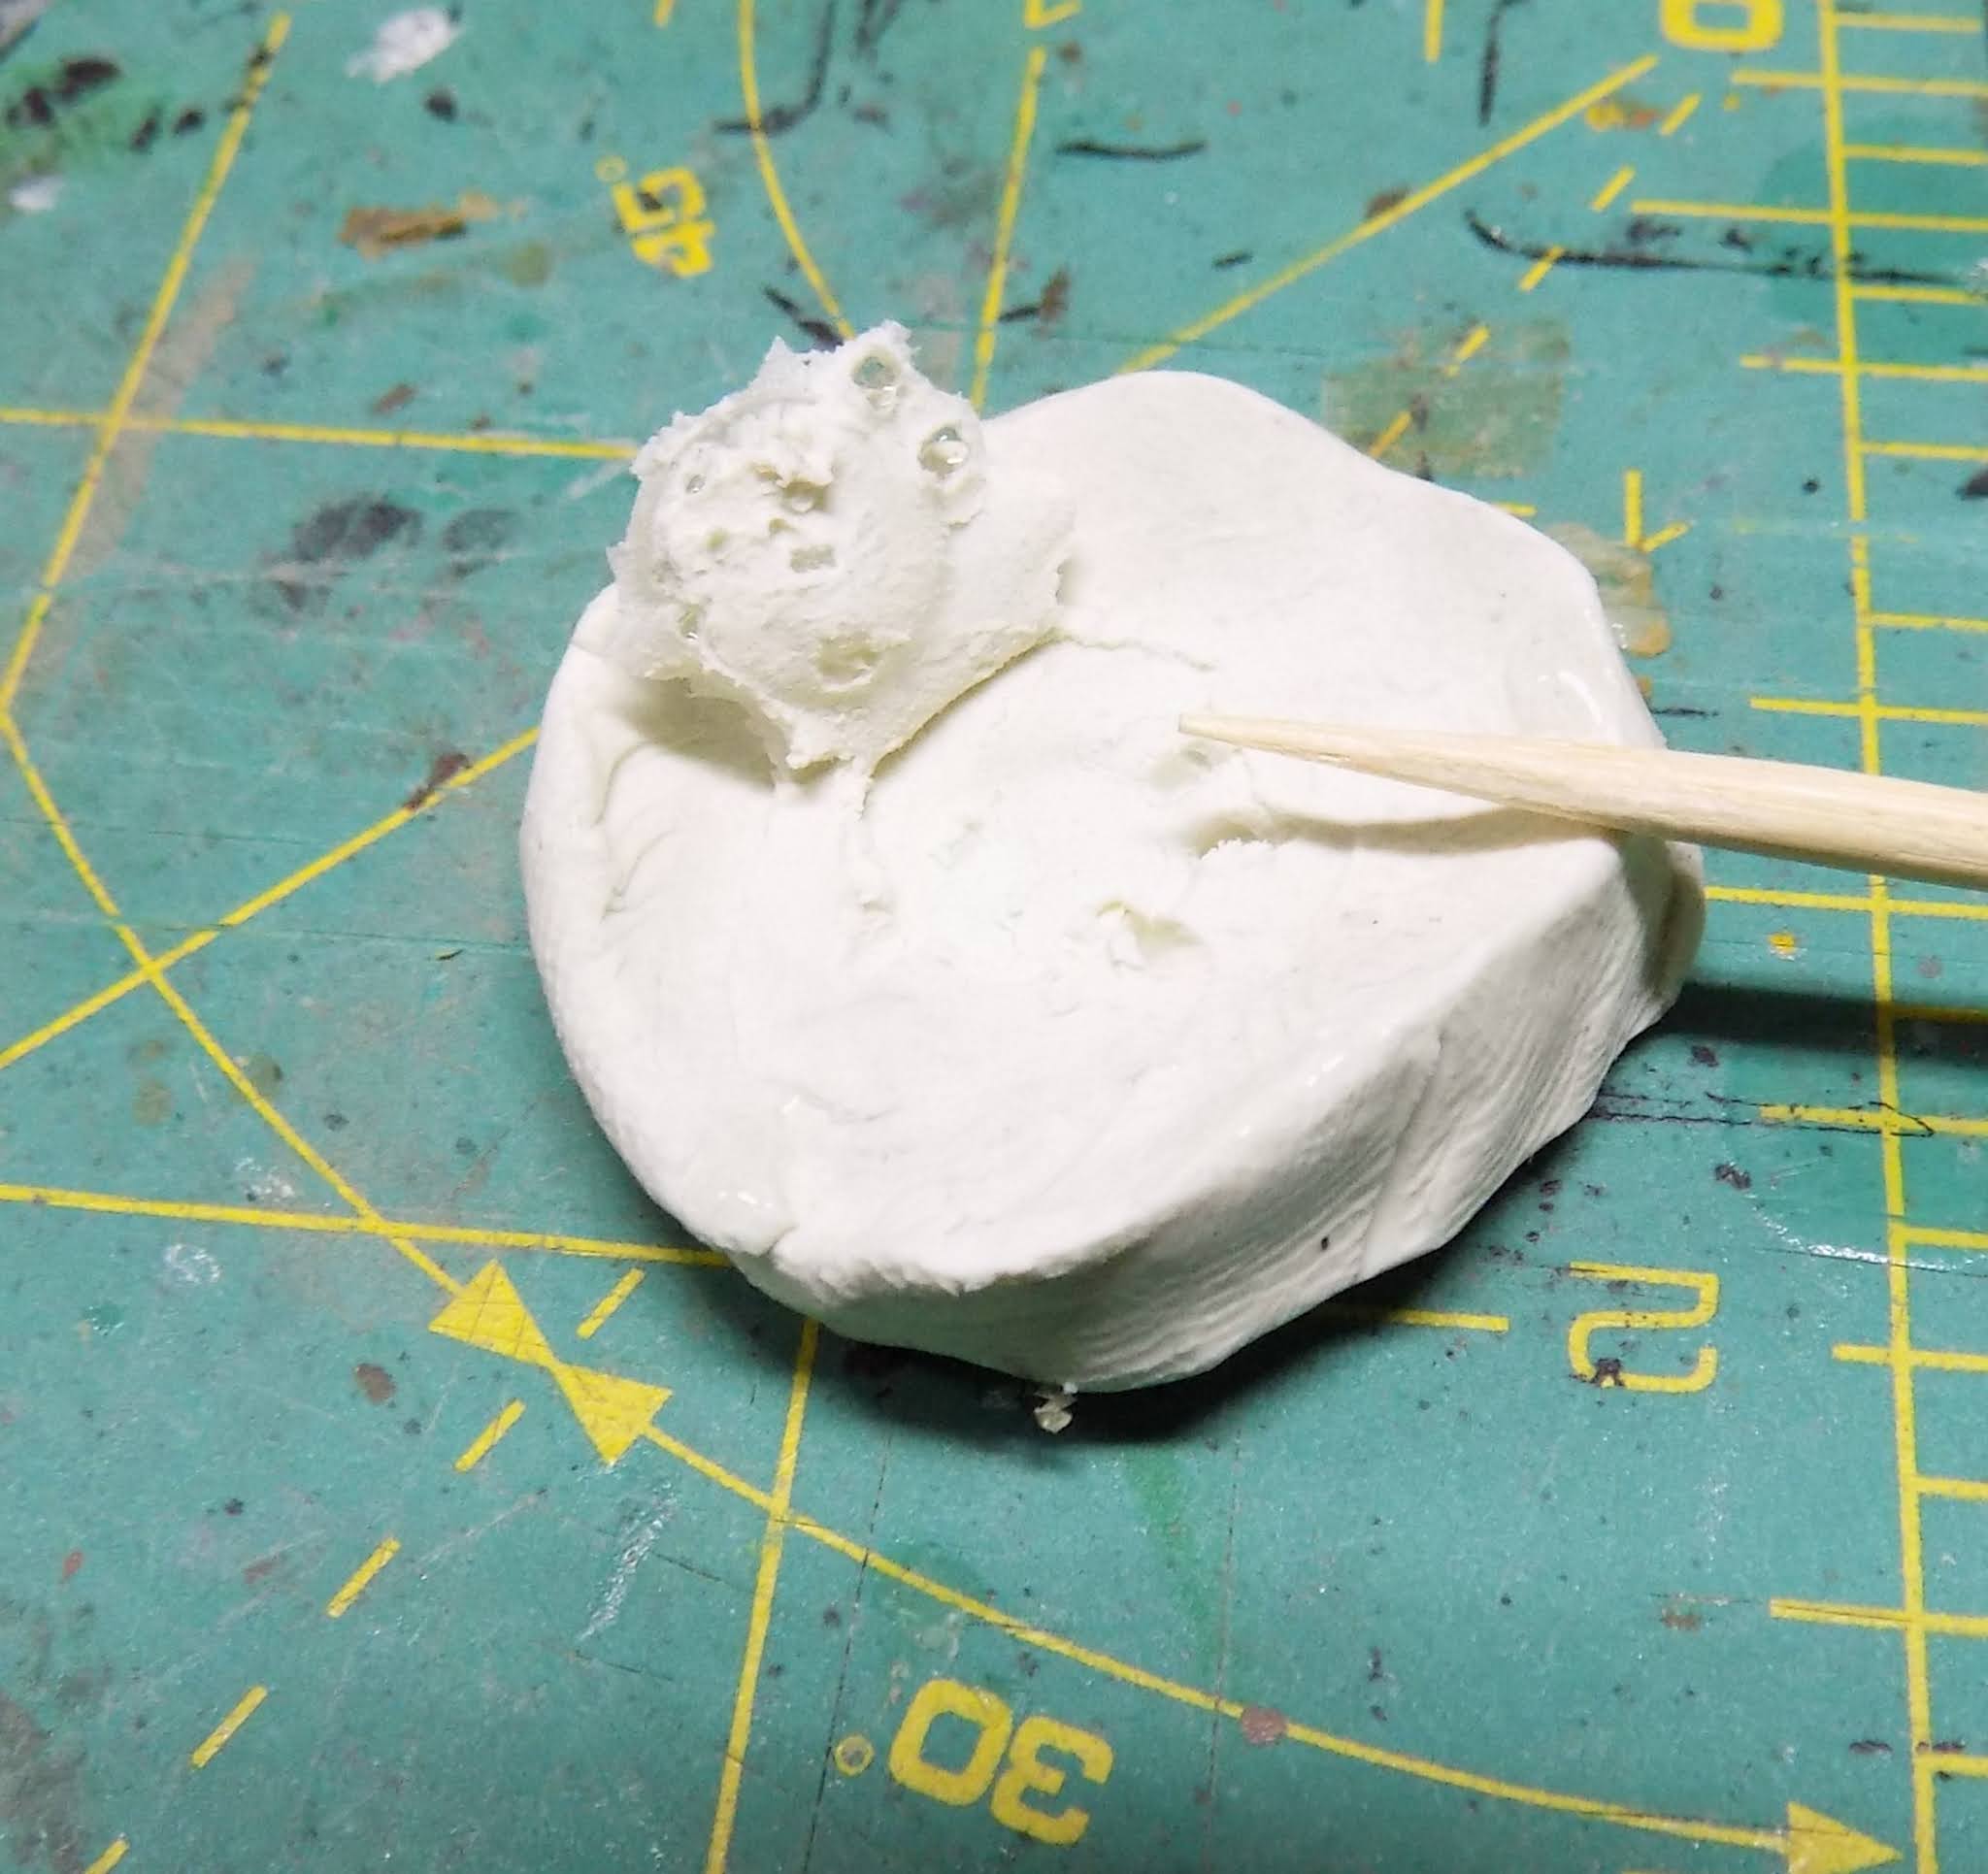
Make a shallow bowl out of modelling clay.  Place the item to be molded in the center of the bowl.  Press the item down until it is flush with the surface. Then gently pry it back up with a toothpick.
Use the toothpick to tidy up any errors in the mold.
Take your quick cure 5 minute epoxy by Bod Smith Industries and mix up a tiny batch.
On a piece of aluminum foil, using your same toothpick.
The put the epoxy into the mold and wait five minutes until it is dry, and pry it out.  This will destroy the mold, but you can reuse the clay.
It's kinda clear so the camera does not pick it up well but it is a very nice hatch.  Use the toothpick to clean up the clay off the hatch and then get the last bits with an old toothbrush.  Trim excess epoxy with a sharp craft knife.  Sand the bottom with a sanding stick.  I get about 80% recovery of the model parts, so since I needed 5 hatches I cast 7 and got 5 good ones.  Cost is almost zero.  Good for making one sided items when you have a special project that only needs a couple little bits.